There are a number of methods that can be used for proper window and door flashing. In this case study we are going to examine the installation of a window using SIGA’s membranes and tapes.
In this photo, a high-performance European window from Old Town Glass is being installed in Truckee, CA with SIGA.
Installation Considerations:
- Air Sealing
- Integration with the WRB (Water or Weather Resistant Barrier based on the application and construction type)
- Substrate and/or surface preparation
- Primed or un-primed installation requirements
- Fastening methodology
- Products required
This Case Study follows SIGA’s cut out method as highlighted on page 9 of The Ultimate Guide to Window Flashing.
Step 1
Installation of the WRB over the sheathing
In this particular case SIGA’s SA 500 was applied directly to a plywood substrate.
The plywood was dry and free from surface defects, oil, etc.
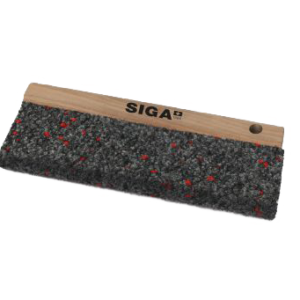
Using a SIGA Squeegee simplifies installation of the SA500. It helps guarantee adhesion between the substrate and the glue in the membrane.
You will notice small green cap nails used. Cap nails are typically used to fasten Majvest, however in certain situations they can help with the installation of the SIGA self-adhered membranes.
Step 2
Rough Open Prep
Following SIGA’s installation guidelines the SA500 was cut on three sides of the opening. Angling the knife as you cut against the RO frame helps to ensure that no damage is done to the membrane that sits on top of the plywood surface.
The bottom was left intact and helps form part of a soft pan at the window sill. Wigluv 100 was used to properly flash the top of the sill and tie the jambs of the rough opening into the WRB.
Step 3
Window Installation
A Reynaers window was set into the rough opening. Once the window was plumb, level, and shims were set per the manufacturer’s instructions – it was time to move onto the next step of the flashing.
Step 4
Exterior Sealing - Fentrim 430
Fentrim 430 is used to bridge the gap between the window frame, in this case a block frame. The silicone split release liner allowed the installers to put the Fentrim onto the window frame first.
Then move on to apply the Fentrim over the top of the Wigluv as shown in the photos.
Step 5
Interior Air Sealing
Wigluv IS20 was used on the interior to seal the interior perimeter of the fenestration. The IS20 covers the Hannoband expanding foam that was set around the jamb of the Reynaers window.
Products Used
Other Products Used
Hanoband Foam Tape, SIGA’s The Ultimate Guide to Window Flashing , Reynaers Masterline 10 Window from Old Town Glass


